For a Bangladesh Tourist Visa, you need to fill up a Visa Application Form and have a copy of your ID photo, your air tickets (with return flight), and documents to support your purpose of travel. S$29 would be charged for a Single-visit visa.
Visa on Arrival
Please check with IATA Travel Center for up-to-date information on this.
Citizens of the USA, Canada, Australia, New Zealand, Russian Federation, China, Japan, Singapore, Malaysia, South Korea, UAE, Saudi Arabia (KSA). Qatar. Kuwait, Oman, Bahrain, and the countries of Europe can obtain a Visa on Arrival for Business/Tourism.
Although Singaporeans are eligible for the Visa on Arrival facility, we decided to apply for a Bangladesh Tourist Visa anyway for peace of mind.
Special Note: Citizens of the Philippines, Vietnam, Laos, Indonesia, etc do not have Visa on Arrival facilities. Citizens of countries not mentioned in the VoA list must apply for a Bangladesh Tourist Visa beforehand.
Whole Visa Application Process
- Gather Documents, make hotel bookings and get air tickets.
- Submit Visa Application at Embassy.
- Collect your visa in 3-4 working days.
Necessary Visa Documents
- A filled-up Visa Application Form. Please submit the visa application form online. Take a printout.
- 1 copy of 35 mm x 45 mm color photograph of the applicant.
- Air Tickets (with return flight).
- Singapore NRIC / Employment Pass / S-Pass / Work Permit.
- A copy of the Passport ID page, and last visa page.
- Your actual passport.
- A hotel booking or letter of invitation or letter of sponsorship.
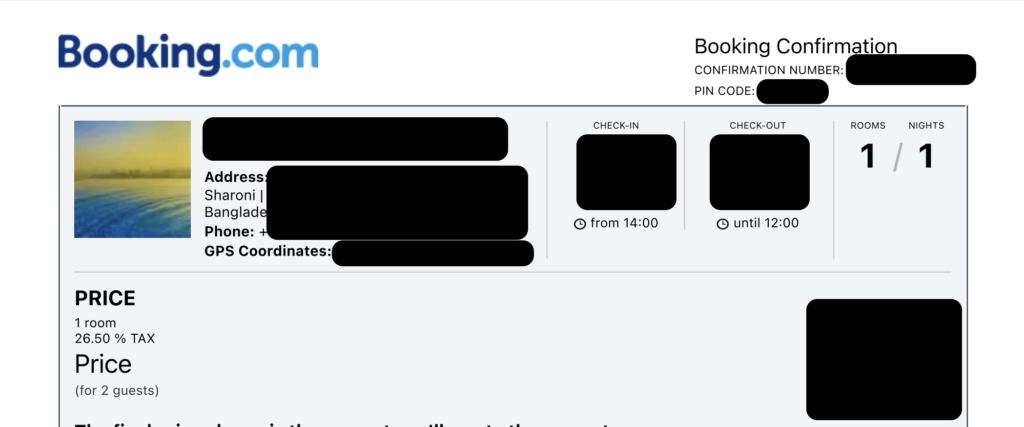
If you're visiting the country and staying in a hotel, definitely make a booking online. You'll need a printed confirmation letter.
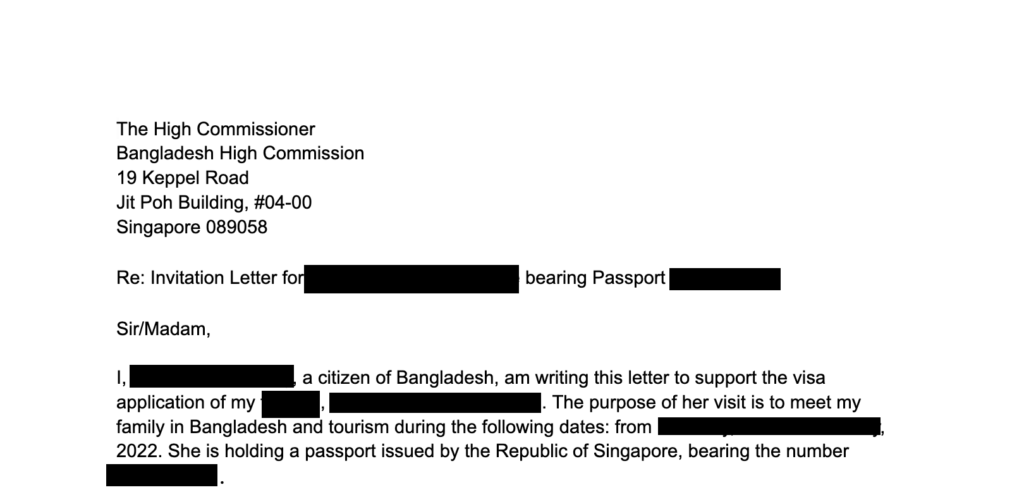
If you're staying at a (Bangladeshi Citizen) friend's home, get a signed letter of invitation from the friend. The letter of invitation should include,
- Your relationship with the sponsor
- The local address of your stay
- The local contact number of the sponsor
- Reason for your visit (i.e., meeting family, tourism)
- Means of funding for the trip (i.e, credit card, cash, sponsorship)
- The Passport numbers of the sponsor and the visitor
- NID Card Number of the sponsor
- If possible, include a copy of the Bangladesh NID card of the sponsor.
I have prepared a Bangladesh Tourist Visa Invitation letter template for your convenience. You may download it by clicking the button below.
Filling up the Visa Application Form

- Visit visa.gov.bd.
- Fill up your personal information and travel information.
- On the payment step, leave the payment details empty as you'll pay at the High Commission.
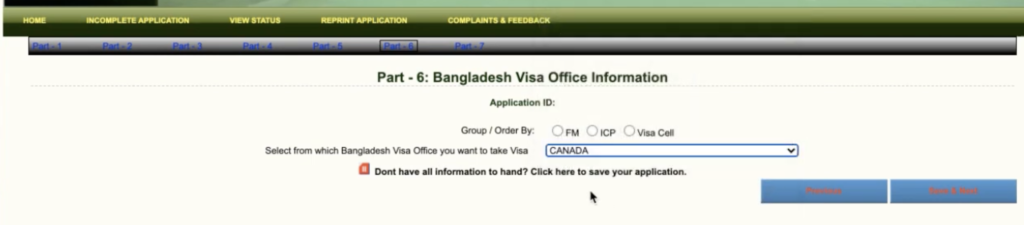
- In "Part 6 - Bangladesh Visa Office Information", choose Singapore. Leave the "Group / Order by" empty.
- Review your information and submit it.
- Take a printout.
- Sign the application form on page 3.
The High Commission of Bangladesh in Canada created a video tutorial, you can follow this video as a guide. Remember to select Singapore instead of Canada during the application!
Submitting the Visa Application
Once you have everything printed and copied, put them in a folder. Make sure you have S$29 ready on your bank card. The High Commission of Bangladesh only accepts NETS payments. Cash is not accepted.
The High Commission is open on weekdays 9:30 AM - 12:30 PM for visa applications.
Head down to Jit Poh Building. Head to #04-00. Take a queue number from the machine.
Once it is your turn, submit your documents. They will provide you with a receipt after payment. You need to keep that receipt for passport collection. It will take 3-4 working days before the visa is ready. On the date specified on the receipt, visit the High Commission to collect your passport.
Checking Status
- Please head over to https://www.visa.gov.bd/ViewStatus.aspx.
- Enter your Username and Password from the online application.
Now, if it says Approved, well, it is approved. Congratulations!
However, Rejected doesn't mean Rejected. If the application is still being processed, sometimes it is shown as Rejected. Just visit the embassy on the day noted on your receipt.
Please feel free to comment if you have any questions.
]]>